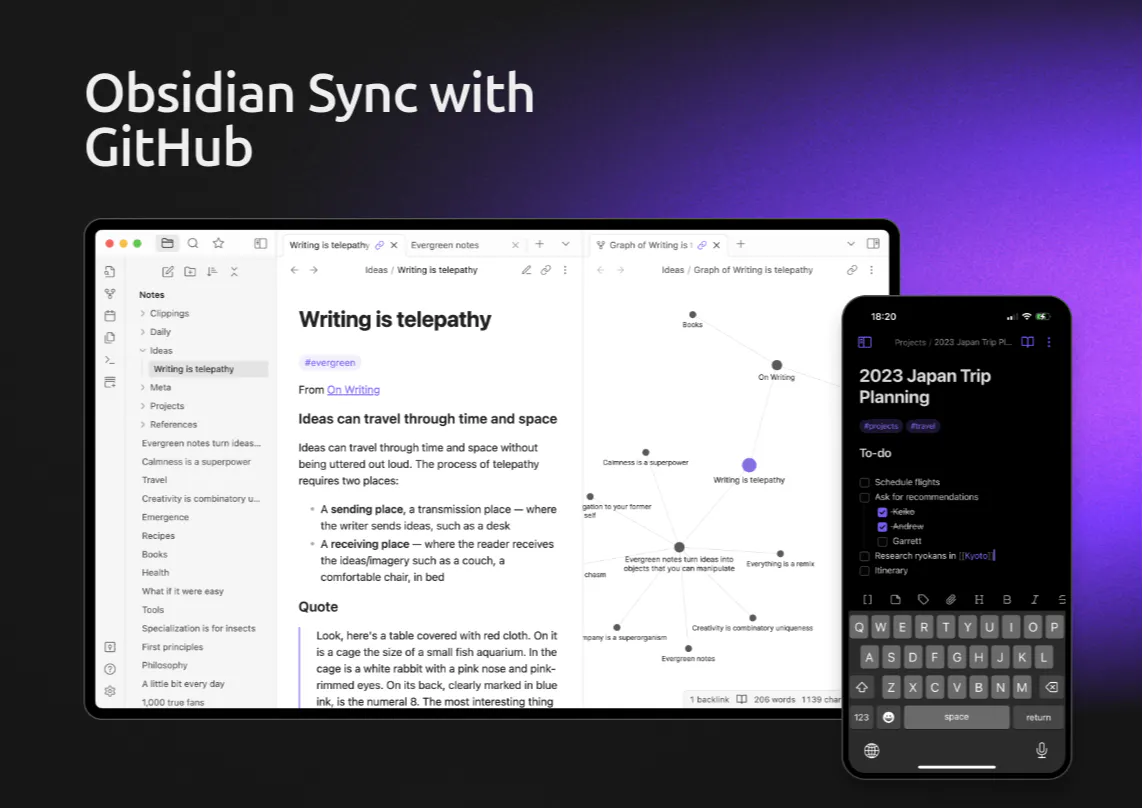

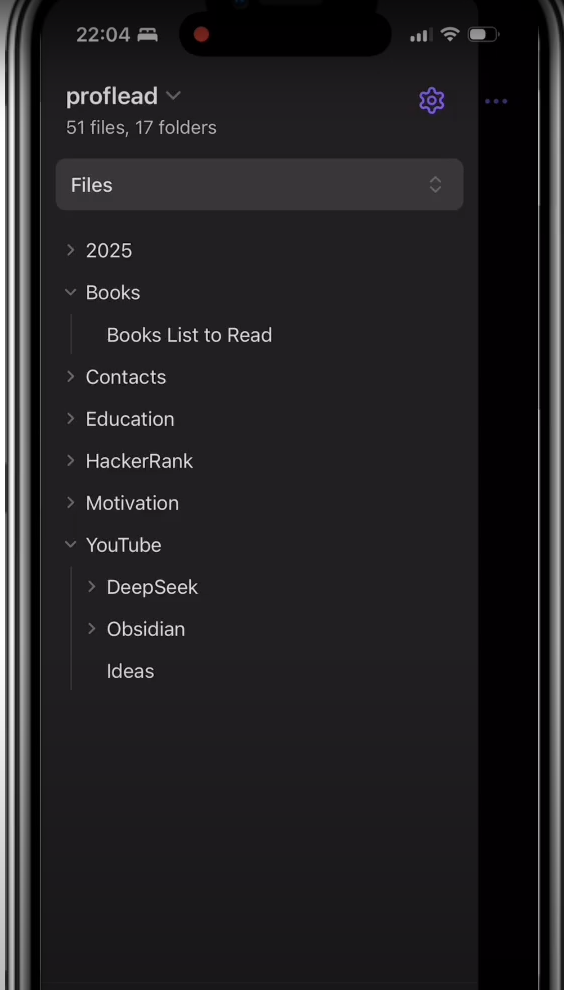
Obsidian is one of the best note-taking apps available today. It provides a powerful, Markdown-based experience with local-first storage. However, there is one problem: the official sync feature costs around $8 per month. What if I told you there’s a way to sync your notes across multiple devices completely free? In this guide, I will walk you through a method using GitHub and Git that allows you to keep your notes in sync without spending a dime.
What Would Need
It could feel that you need to do a lot of things, but don’t worry; in an ideal scenario, you would need about 10–15 minutes and these things:
- GitHub Account & Repository
- GitHub Access Token
- SSH key (optional)
- Git
- Obsidian
- Git Plugin for Obsidian
- iSH app for iPhone
- Obsidian App for iPhone
Step 1: Create a GitHub Account and Repository
GitHub is a cloud-based platform primarily used for software development, but it can also be used for managing personal projects and files — including Obsidian notes.

A Git repository (or repo) is a storage space where Git tracks all the changes to a set of files. It records modifications, allowing you to revert to previous versions, collaborate with others, and synchronize your files across different devices. In the context of Obsidian, a Git repository helps store and sync your notes while keeping track of all edits.
- Go to GitHub.com, and sign up.
- Once logged in, click on the New button to create a new repository.
- Give it a name (e.g., “Obsidian-Notes”).
- Make sure to set the repository to Private so your notes are not publicly accessible.
- Click Create Repository.


Step 2: Install Git on Your Computer
If you don’t have Git installed, follow these steps:
- Windows: Download and install Git from git-scm.com.
- Mac: Install Git using Homebrew with
brew install git.
- Linux: Use
sudo apt-get install git(for Debian-based systems) or sudo dnf install git (for Fedora-based systems).
Once installed, open your terminal (Command Prompt, PowerShell, or macOS Terminal) and verify installation by running:
git --version
Basic Git Commands
Here are three essential Git commands that you’ll use frequently:
git status
This command shows the current state of your repository. It tells you which files have been modified, added, or staged for commit.git status
git pull
This command fetches the latest changes from the remote repository (GitHub) and updates your local repository.
git push
After making changes, you need to upload them to GitHub using git push. This command sends your committed changes from your local repository to the remote repository.
Step 3: Clone the GitHub Repository
Now, let’s connect your local Obsidian vault to GitHub:
- Open your terminal, and navigate to the folder where you want to store your notes.
- Run the following command, replacing YOUR-REPO-URL with your GitHub repository URL:
git clone YOUR-REPO-URL
- This will create a local folder linked to your GitHub repository.

Move your Obsidian notes into this folder so they are ready for syncing.
Step 3. How to Get a GitHub Classic Token
GitHub has deprecated password-based authentication for Git operations. Instead, it requires you to use a Personal Access Token (PAT), which provides a more secure way to authenticate.
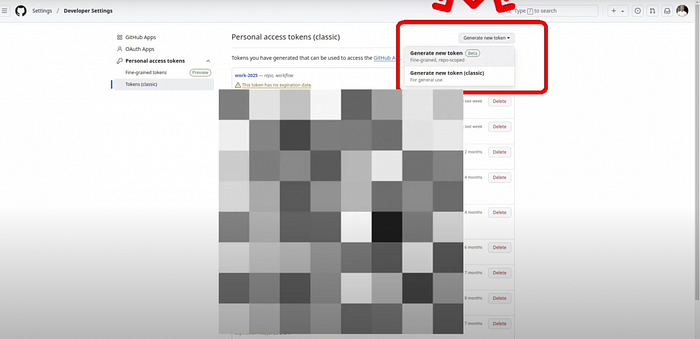
How to Get a GitHub Classic Token
Go to GitHub Developer Settings:
- Open GitHub Token Settings.
- Click Generate new token → Select Classic.
Set Expiration & Permissions:
- Choose an expiration date or set it to No Expiration (not recommended for security).
Select the necessary scopes:
- repo → For accessing private repositories.
Generate and Copy the Token:
- Click Generate token and copy it immediately.
- GitHub won’t show it again after you leave the page.
Use the Token in Git Authentication:
- When prompted for a password in Git operations, paste the token instead.
Step 4: Set Up SSH for Authentication (Optional)
To avoid entering your password every time you sync, you can set up SSH authentication:
- Generate an SSH key by running:
ssh-keygen -t ed25519 -C "[email protected]"
- Copy the SSH key using:
cat ~/.ssh/id_ed25519.pub
- Go to GitHub, navigate to Settings > SSH and GPG keys, and add the copied key.
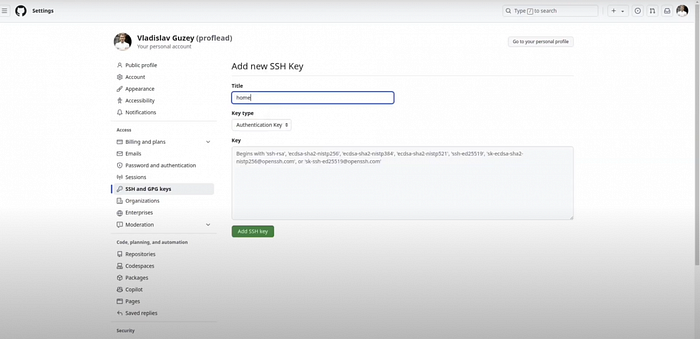
Now, your system will authenticate with GitHub automatically.
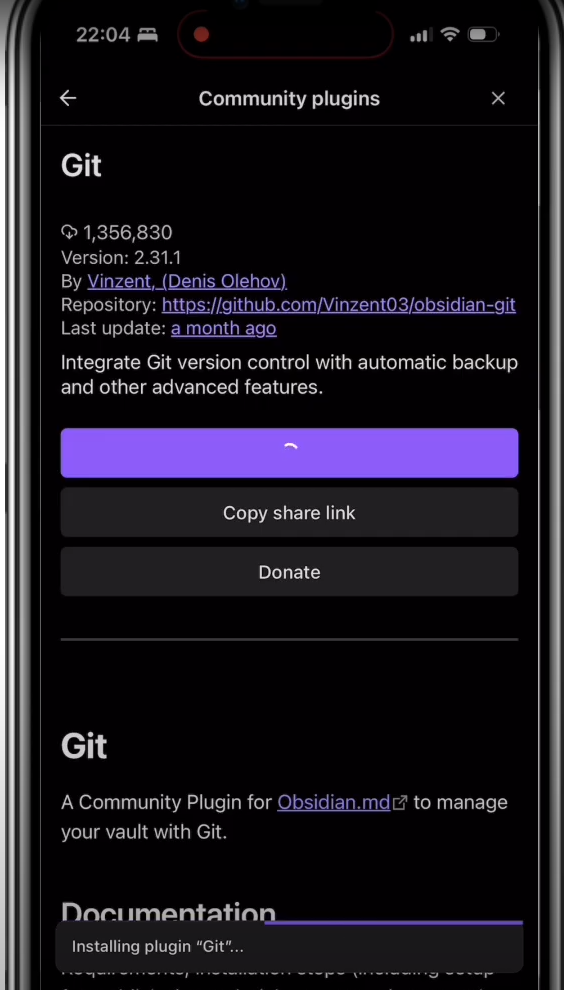
Step 5: Set Up Git Plugin in Obsidian
I assume you already have the Obsidian App, which is why I won’t cover the installation process for it here. I will only show you the quick steps to install the Git plugin.
Obsidian has a plugin that makes Git syncing easier:
- Open Obsidian, and go to Settings > Community Plugins.
- Search for “Git,” and install it.
- Enable Auto Commit and Sync (set an interval, e.g., 5 minutes).
- Enable Pull on Startup to prevent conflicts.


Now, whenever you edit notes, Obsidian will sync them automatically with GitHub.
Step 6: Syncing Notes on Mobile (iOS, iPhone, iPad)
Syncing on mobile is slightly more complicated but still doable.
- Install Obsidian from the App Store.
- Install iSH, a terminal app that allows you to run Linux commands.


-
iSH App
-
Open iSH, and install Git using:
apk add git
- Create a folder for your obsidian notes:
mkdir obsidian
-
Run the mount command to mount the obsidian vault folder.
mount -t ios . obsidian
- A file picker will show up. Choose the folder with your local vault.
- Then use the following commands:
cd obsidianrm -rf .git clone YOUR-REPO-URL .
Once this step is done, you will see your notes in the Obsidian application.
Step 7: Install Obsidian Git Plugin on iPhone
The last step in our tutorial - the Git community plugin.
-
Open Obsidian.
-
Go to Settings > Community Plugins.
-
Tap Browse and search for Obsidian Git.
-
Tap Install, then Enable the plugin.
-
Set up an auto-commit interval (e.g., every 5 minutes).
-
Enable Pull on Startup to sync changes when opening Obsidian.
Video Tutorial
If you are struggling with the steps, I recommend you to watch my detailed video tutorial.
Conclusion
While it takes a bit of setup, once done, it works seamlessly. If you found this guide helpful, let me know in the comments, and feel free to ask any questions!
Cheers! ;)